TÜV Rheinland Onsite-Assessed Custom Manufacturer [email protected]
English Online Inquiry
0%

Choosing the right Bike Accessories can make everyday rides safer, more comfortable, and easier to manage. The best choices depend on your bicycle, typical routes, weather, and riding habits. A commuter crossing busy streets may value bright lights and a reliable lock, while a weekend rider may prioritize a compact repair kit and comfortable gloves. There is no single setup that suits everyone.

Start with fit and function, not flashy features. Check whether a rack matches your frame, whether a helmet fits securely, and whether a pump works with your tire valves. Read product specifications carefully, and compare them with your bicycle’s manual or the manufacturer’s guidance. Small compatibility checks can prevent wasted money and frustrating returns. No setup is perfect.

Think about how accessories perform in real conditions. A light should remain visible in daylight, a bag should stay stable over bumps, and a water bottle should be reachable without awkward movement. Look for durable materials, clear care instructions, and replacement parts when relevant. Expert reviews can help, but personal fit and local riding conditions still matter.

The ten tips ahead explain what to consider before buying, from essential safety gear to practical storage and maintenance tools. They also point out common trade-offs, such as weight, price, and ease of use. A costly item is not automatically the best one. Choose carefully, test new gear on a familiar route, and adjust your setup as your needs change.
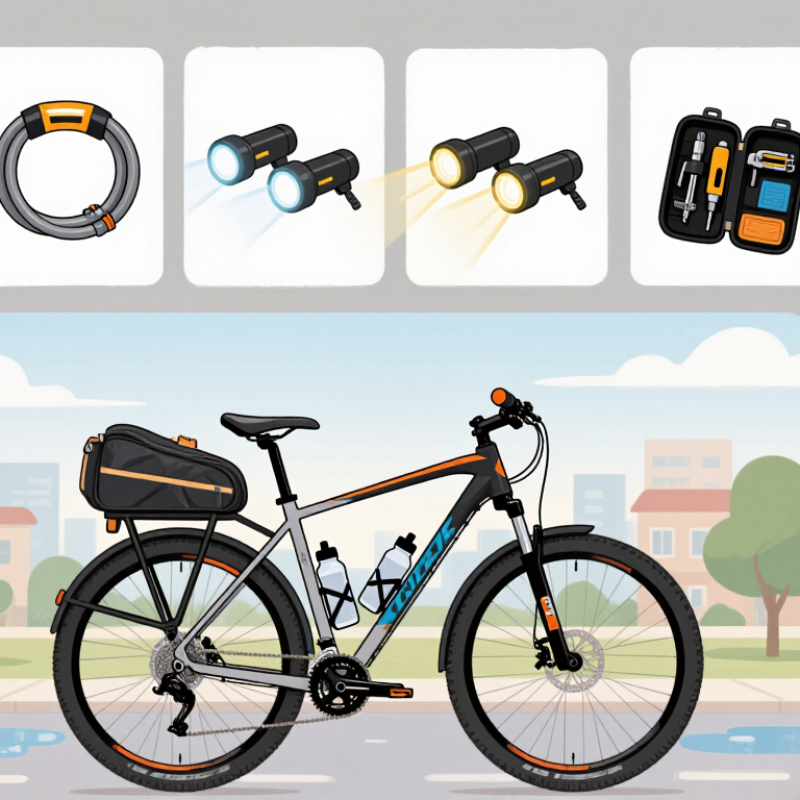
10 Tips for Choosing the Best Bike Accessories

Define Your Riding Needs Before Comparing Bike Accessories

Before comparing bike accessories, map the rides you actually make. A short weekday commute through busy intersections calls for different gear than a quiet weekend gravel ride. Note your route, distance, traffic, weather, and whether you ride after dark. Be specific. A five-minute climb with a loaded backpack can matter more than a long, flat path.

Safety data can sharpen those priorities. NHTSA’s 2022 Traffic Safety Facts recorded 1,105 bicyclist deaths in the United States. That number cannot tell you which accessory suits your route, but it makes visibility and protection worth considering. A 2017 systematic review in Accident Analysis & Prevention found helmet use associated with 48% lower odds of head injury and 60% lower odds of serious head injury. Choose a properly fitting helmet, then consider lights or reflective details if your rides include darkness or poor visibility.

Match practical gear to your routine: a rack or panniers may help with groceries, while a repair kit matters on routes far from transit or a bike shop. Check that accessories fit your bicycle and do not interfere with steering or braking. This is easy to misjudge; a dry test ride proves little about winter rain. Revisit your choices after a few ordinary rides, not just one ideal afternoon.

Choose a Certified Helmet: Cochrane Finds About 50% Lower Head-Injury Risk

A helmet is the most important accessory to check before a ride. Cochrane’s review found that cyclists wearing helmets had about a 50% lower risk of head injury than cyclists without them. That is a meaningful reduction, not a promise of complete protection. Crashes differ, and helmets cannot prevent every injury.

Choose a helmet certified to a recognized safety standard, then check its fit. It should sit level, cover the forehead, and stay steady when you shake your head. The chin strap should feel snug, not painful. Small detail. Big difference. A certified label shows the helmet passed specific tests; it does not mean every model fits every rider. Fit checks are easy to rush, even for careful people.

Tip: Try the helmet on before buying, if possible. Adjust the straps so they form a V just below each ear, then fasten the buckle. Open your mouth wide: the helmet should press gently against the top of your head. Replace a helmet after a crash or when its shell, foam, or straps show damage. An older helmet may look fine, but appearance alone cannot confirm its condition.

Plan Visibility Gear: NHTSA Recorded 1,105 U.S. Cyclist Deaths in 2022

NHTSA recorded 1,105 pedalcyclist deaths in U.S. traffic crashes in 2022. That number is sobering, but visibility gear cannot prevent every collision. It can help other road users notice a rider sooner, especially at dusk, in rain, or against a shadowed street. A small front light and a red rear light make a practical starting point. Place them where bags or jackets will not cover them. Rain can mute contrast, and streetlights can create glare; no single color or gadget works in every setting.

Reflective details work differently from active lights. Ankle bands move with each pedal stroke, making motion easier to recognize in headlights. A reflective strip on a backpack or jacket can help, too. Choose gear that remains visible from the side, not just from behind. Test it outside after sunset; a bright-looking item in a shop may disappear on a dark road. Keep lenses clean and check batteries before longer rides. Simple, but easy to forget. It is tempting to treat visibility as a box to tick, yet positioning, traffic, and weather still matter.

Check Fit, Load, and Compatibility Against ISO 4210 and Maker Limits

A rack can look secure in a shop and still sit crooked once loaded. Check the frame’s mounting points, bolt size, and clearance around the wheel, brakes, and cables. ISO 4210-2:2023 sets safety requirements for several bicycle categories, while ISO 4210-3:2023 specifies common test methods. These standards assess bicycles; they do not approve every added accessory or set one universal rack limit. Small detail. Big difference.

Read the bicycle maker’s maximum rack load and total system-weight limit, then compare them with the accessory maker’s figures. Use the lower limit. A 10-kilogram rack rating does not mean the frame can safely carry 10 kilograms on that rack. Place the load evenly, secure loose straps, and check that panniers cannot touch the spokes. After fitting, lift the rear wheel and turn it slowly by hand. Recheck bolts after the first ride. A careful fit can still shift.

For child seats, trailers, and handlebar bags, confirm that the specific mounting method is permitted; visual fit is not proof of compatibility. ISO 4210 provides a useful safety reference, but the bicycle and accessory instructions govern the actual limits. If those instructions conflict or omit a load figure, pause and ask a qualified mechanic. It is easy to overlook a cable trapped under a clamp. That mistake is worth checking twice.

10 Tips for Choosing the Best Bike Accessories - Check Fit, Load, and Compatibility Against ISO 4210 and Maker Limits

No. Accessory Check What to Measure or Verify Compatibility and Safety Check
1 Confirm the bike’s intended use Check the bicycle’s stated category, permitted rider and cargo mass, and any restrictions in its instructions. ISO 4210 covers safety requirements and test methods for bicycles and specified components; it does not provide one universal accessory-load limit. Follow the bicycle and accessory makers’ instructions.
2 Check rack capacity and attachment points Verify the rack’s rated load and whether the frame has the required mounting points. Include the weight of the rack and everything carried when checking the bicycle’s total mass limit. Do not exceed either the rack rating or the bicycle’s stated limit. Avoid attaching a rack to parts or mounts not approved for that purpose.
3 Check pannier fit and heel clearance Measure the distance between the pannier and your heel while pedaling, and check that the bag sits securely on the rack. Confirm that hooks, straps, and fasteners cannot reach the wheel, spokes, brake, or drivetrain. Recheck clearance with the bags loaded.
4 Match a child seat to the bicycle Check the seat’s approved mounting location, the bicycle’s frame and rack compatibility, and all stated rider, child, and load limits. Use only a seat and mounting system approved for the specific type of bicycle and attachment point. A rack-mounted seat requires a rack explicitly rated for that use and load.
5 Measure handlebar clamp fit Measure the handlebar diameter at the intended mounting point and compare it with the accessory’s specified clamp range. Check that the mount does not obstruct brake levers, shifters, cables, or a safe hand position. Tighten only to the maker’s stated torque where one is provided.
6 Verify lighting and visibility Check mounting location, battery or power requirements, and whether the light can be aimed as intended. Keep lights and reflectors visible and securely attached. Follow local lighting rules; do not assume that one light setup meets requirements everywhere.
7 Check fender and tire clearance Compare the fender’s required clearance with the bicycle’s tire size and available frame and fork space. Allow for wheel and tire movement and remove any setup that rubs. Do not use a tire size or fender arrangement outside the bicycle maker’s stated limits.
8 Match a pump, bottle cage, or tool mount Check mounting-hole spacing, fastener size, cage position, and clearance for the bottle or tool. Use suitable fasteners and avoid overtightening. Make sure the accessory cannot contact the wheel, suspension, cables, or moving parts.
9 Verify e-bike electrical compatibility For powered accessories, check the specified voltage, connector, current or power draw, and approved power source. Use only components approved for the e-bike system. Do not connect an accessory to a battery or wiring circuit unless the system instructions allow it.
10 Recheck handling, brakes, and fasteners After installation, check steering movement, brake operation, wheel clearance, and accessory security; test the bicycle at low speed in a safe area. Added mass or a changed load position can affect handling and braking. Inspect fasteners regularly and follow the bicycle and accessory makers’ maintenance guidance.

Verify E-Bike Electrical Accessories Meet UL 2849 Safety Requirements

A bright display or extra battery can make an e-bike seem more capable, but electrical safety deserves closer attention. UL 2849 evaluates an e-bike’s electrical system, including components such as its battery, charger, and motor controls. It is not a blanket approval for every accessory sold separately.

Check the exact bike or electrical system model against the certification information. Ask the seller for documentation, and confirm that the battery and charger are approved for use together. Keep the paperwork. A familiar-looking label alone is not enough; verify its scope with the certifying organization. If the seller cannot explain what was tested, pause before buying.

Compatibility matters in daily use. A charger with the wrong specifications can create avoidable heat, while a poorly matched battery may not work safely with the bike’s controls. Look for clear voltage and model details, then compare them with the bike maker’s instructions. Not just a logo. Check cables and connectors for cracked insulation, loose pins, or heat discoloration, especially after a ride in rain. I still find accessory listings confusing at times; that is a reason to ask precise questions, not to guess.

10 Tips for Choosing Bike Accessories: Match E-Bike Electrical Accessories to System Voltage

36 V, 48 V, and 52 V are common nominal e-bike battery system voltages. Before buying electrical accessories, confirm compatibility with your e-bike manufacturer’s specifications. UL 2849 addresses e-bike electrical systems; it should not be treated as blanket certification for every add-on accessory.

FAQS

How much can a helmet reduce head-injury risk?

A review found about 50% lower risk among cyclists wearing helmets. It cannot prevent every injury.

How should a bicycle helmet fit?

It should sit level, cover your forehead, and stay steady when you shake your head. Snug, not painful.

How can I check helmet straps?

Adjust them into a V just below each ear. Fasten the buckle, then open your mouth wide. The helmet should press gently against your head.

When should I replace a helmet?

Replace it after a crash or when the shell, foam, or straps show damage. It may look fine, but appearance cannot confirm its condition.

What visibility gear is useful for evening rides?

Use a front light and a red rear light. Keep them clear of bags and clothing. Check them after sunset.

Do reflective details help?

Yes. Moving ankle bands can stand out in headlights, and reflective strips may help from the side. Test them outdoors; shop lighting can fool you.

What should I check before buying e-bike electrical accessories?

Verify the exact system and component details. Ask for certification documents, and check that the battery and charger are approved for use together. Keep the paperwork.

How can I spot a possible electrical compatibility problem?

Compare voltage and model details with the bike’s instructions. Check for cracked cables, loose pins, or heat discoloration. Don’t guess. I still find some listings confusing.

Conclusion

Choosing the right Bike Accessories starts with understanding how, where, and how often you ride. Consider your typical routes, weather, riding style, and the gear you already own before comparing options. A certified helmet should be a priority: research summarized by Cochrane indicates helmet use is associated with about a 50% reduction in head-injury risk. Visibility gear also matters, particularly for riding in low light or around traffic; NHTSA recorded 1,105 cyclist deaths in the United States in 2022, underscoring the importance of being seen.

Before buying, check that accessories fit your bicycle, suit their intended load, and stay within the limits set by the bicycle’s maker. ISO 4210 provides relevant safety requirements for bicycles, so compatibility and sound installation are essential. For e-bike electrical accessories, look for evidence that they meet UL 2849 safety requirements, and follow the manufacturer’s instructions. Careful selection can help make your setup safer, more practical, and better suited to your everyday rides.

Evelyn

Evelyn

Evelyn is a professional marketing specialist with a strong understanding of the company’s products, their practical applications, and the needs they are designed to address. She regularly contributes expert articles to the company website, offering clear, useful information that helps readers......